You’ve created your newsletter or snapshot and you’re happy with how it looks and reads.
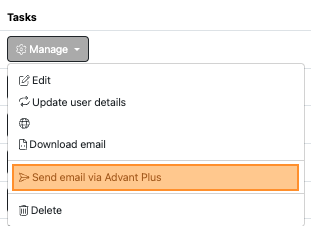
Select the Manage tab and click Send email via Advant Plus.
You will be taken to a Create a campaign page.

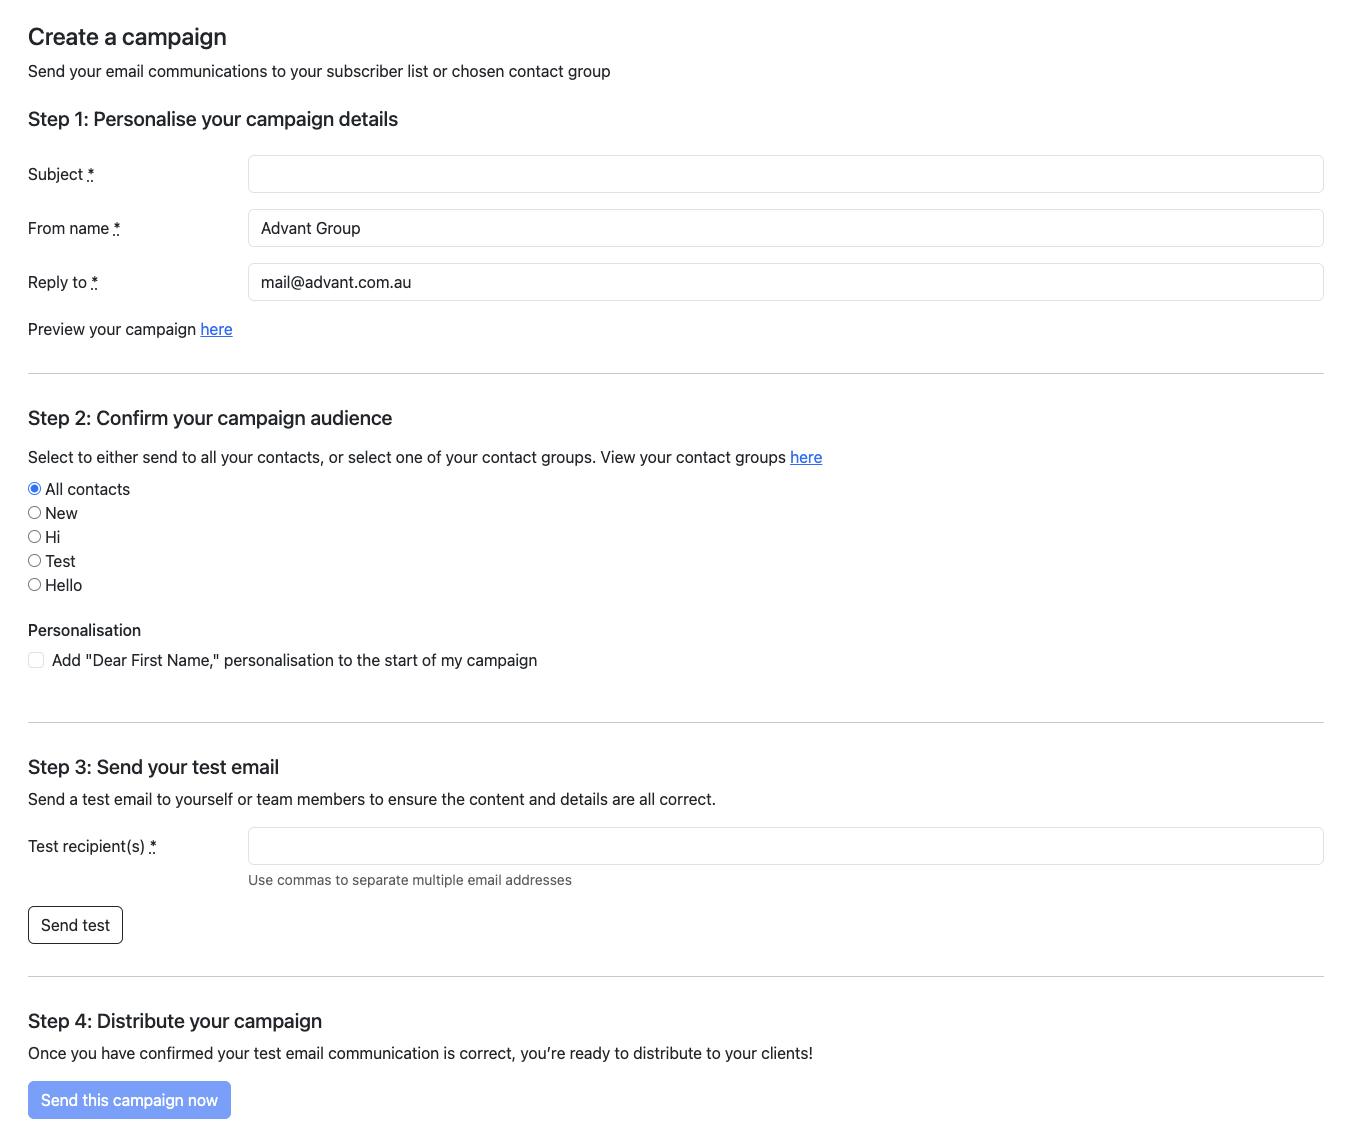
Step 1: Personalise your campaign details
Subject
Give your email communication a subject to let clients know what they are receiving.
From name
Fill in the name you would like your clients to see in their inbox.
Reply to
Fill in the email address you would like appear if a client wishes to reply.
Step 2: Confirm your campaign audience
Select who you would like to send the email communication to.
You will only be able to send to one contact group at a time.
Personalisation
Select this checkbox if you would like to include ‘Dear First_name,’ in your campaign.
Step 3: Send your test email
You are required to send a test email before proceeding.
Send this to yourself so you can preview what your clients will receive. The test email may appear in your inbox (check your Junk inbox) within a few minutes.
Step 4: Distribute your campaign
Review the details of your email communication before sending.
If you are happy with all the details, select Send this campaign now.
Once you have filled in the campaign details and sent a test email, the button will change to a solid blue button.
Congratulations – Your communication has been sent!